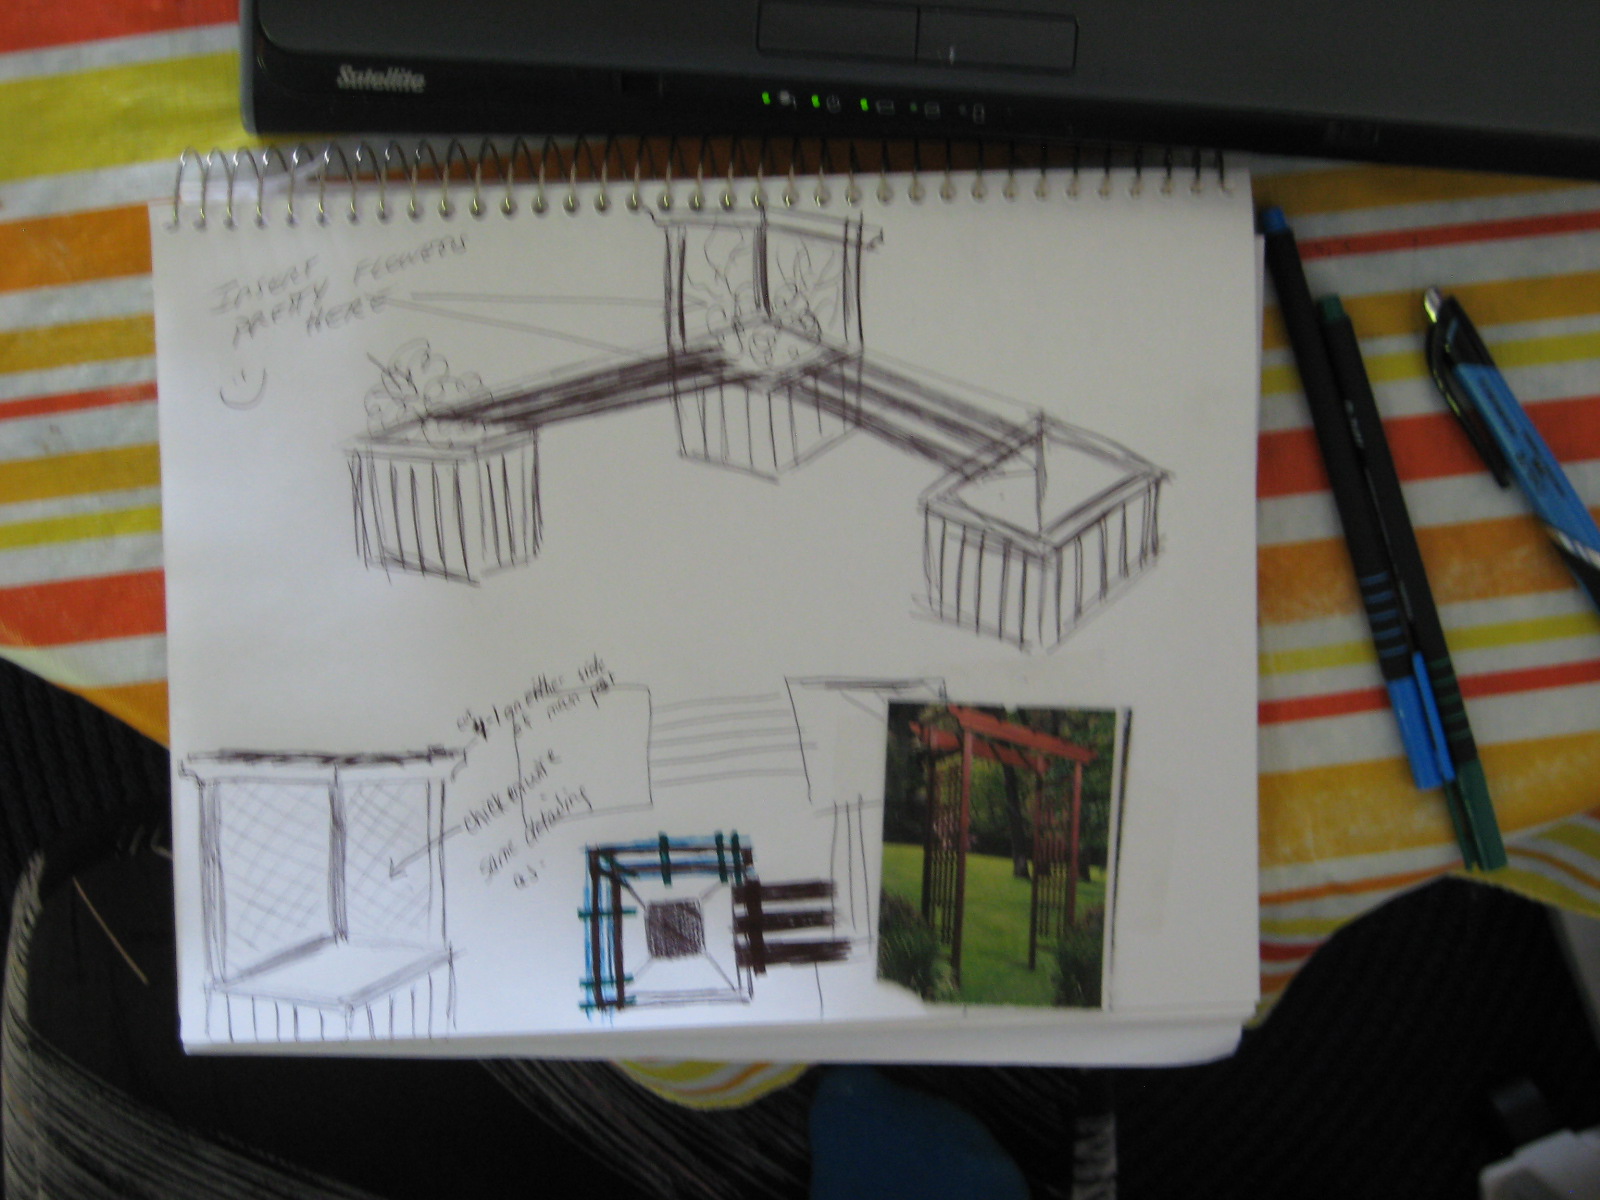
This is probably the absolutely best outdoor project we have taken on. We have an enormous yard for being in the city and for years it has been neglected. The gardens have grown over and the perennials were being chocked out by the thistles. So last year we tackled the main veggie gardens and 1 small circular perennial bed to add some interest. All veggies are started from seed and all the perennials have been graciously donated from friends that have been dividing up what they have. This year I really wanted to add some extra seating and maybe some extra pretty things - because you can't have enough pretty flowers. So few weeks ago BHG sent out their weekly newsletter - a pergola special, and after explaining to my DH that the word pergola actually exists LOL we came up with some VERY rough sketches and I sent him to work. Hahaha K is really enjoying this woodworking thing and as long as he enjoys it I will keep coming up with projects. :D


This year we also tackled the greenhouse http://tampster1.blogspot.ca/2011/05/our-easter-project.html#.UpoG58RrZjo- which is already producing :D, added a rain barrel, put in 2 raised beds and 1 cut bed, made the kids a few picnic tables, added the clock and it was still lacking something.
Now wait for it.... Cost for project
Wood .... free ** actually we should get a credit for this, the company was just going to cut this up and call it garbage, as it cant be used for anything that they produce and pay to have someone haul it away.
Screws... $12 and there is about 500 of them in here... LOL don't ask. ;)
Paint.... $5/gallon Wally World was doing renovations and they had their $35/gallon paint marked down you betcha!!!!! I took 3 but haven't used 2 yet
Chicken Wire 2 rolls at $1.25 from the dollar store - $2.50
And of course my wonderful husbands Love :) --- Free and unconditional :)
Total ---- $24.50 Cant get much better than that. :D
The boxes are 2ft square, the benches are removable, 1 is 5ft and one is 4ft. And right now the corners are planted up with Annabella hydrangeas, the corner box will have clematis and other planting to be decided at a later date . :) I LOVE IT!!!! Hope you do to.
Comments
Post a Comment