
Down to the Minute


6 * 9 * 2.5 in treasure box
acrylic on wood
finished on the inside covers with complimentary decorative paper
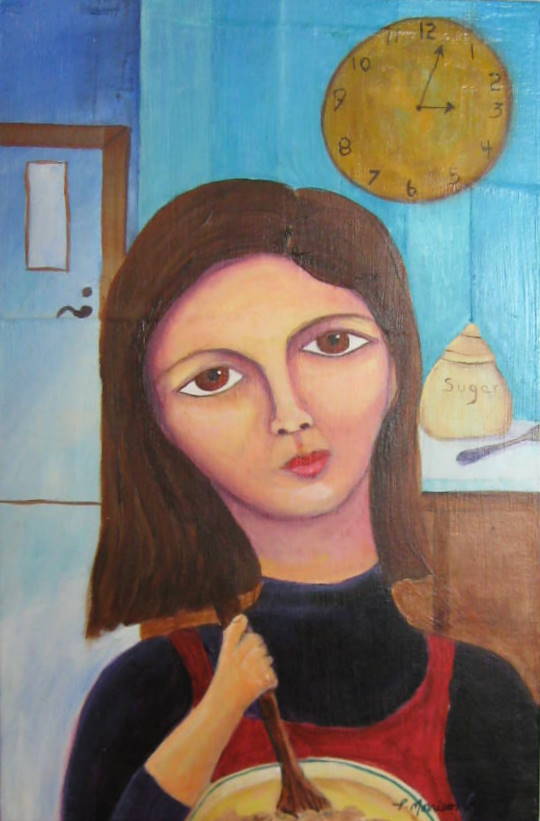
Somedays my life is really reflected in what I paint, and I dont even realise it until a piece is completed and then I stand back and go hmmmm... where did that come from. I am such a happy, passionate person that when I look at these somber/exhausted woman pieces I really question my inner peace so I am going to Try and paint happier woman from now on.. :) Well, we will see anyways ;)

Comments

  1. your work is beautiful, and I loved reading your profile, especially the part where you write to that art teacher...

    Grace and peace to you

    ReplyDelete
  2. Awe Thank you Mary. :) I think the last card I sent was the best one yet. ( the world news article ) My former teacher is a great artist, dont get me wrong - his murals are featured all over the main historical buildings back home. My hope with these letters is that it will make him a better teacher. I learned along time ago that the slightest bit of encouragment or the most off the cuff remark can have a lasting effect and can alter a persons path in life. So I try and encourage - even if it doesnt make sense to me at the time, because you just never know. ;)

    ReplyDelete

Post a Comment

Popular posts from this blog

DIY Crayon costume for Halloween

Halloween is my favorite time of year. We spend weeks getting our yard and home decorated all for the night when the little ghosts and goblins come out to play. ;) B started school this year and within her school, they don't do a Halloween per say, they have an orange and black day. So in order to kill 2 birds with one stone, we decided that she is going to be an orange crayon. So with an old t-shirt and a little black felt fabric, this is what I came up with. I think it turned out Awesome! And the best part is that it was a no-sew project. Supplies needed:  1 t-shirt in the size required. 1 box of orange fabric dye (because they didn't' have any orange t-shirts in her size) 1 wooden spoon 1 large container for dying remnant black fabric. I used black felt because that is what I had on hand. 1 pattern for the Crayola font - I used this one Crayola pattern  and made the size adjustments accordingly when I was printing it out. For the crayon label banding, I just wi

Mushroom Christmas Ornaments Inspired by Twine Balls

Inspired by some twine ornaments that I made up last week. 6 of these in 3 differant sizes for under $3 Gotta love that :) So I thought I would carry that rustic whimsy tree theme we have going this year and make up some wee-folk inspired mushroom ornaments. These are so very simple to make. What you need: styrofoam balls twigs or dowels cut to 1.5 inch long twine beads - any color small scrap of ribbon glue gun Step 1: Cut aprox 1/3 off the bottom of the ball Step 2: Fold ribbon in 1/2 and insert into a small hole in the top for hanging, glue the twig into the bottom. Step 3: Starting at the top, glue a starting point with your twine. and start wrapping glueing as you go. Keep wrapping all the way under the cap. Once you get to the bottom just cut, tuck and glue. Step 4: Add your embellishments. I simply glued some med sized beads for a little color, But you could go in with some acrylic paint and also add color that way. I found these cute ladybug thumbtacks and thought

Halloween Haunt - DIY Rotting Flesh/ Corpsing prop tutorial

Here is one of the techniques I use to attain the rotting flesh look on cheap plastic dollar store Halloween props.  Supplies you will need: plastic body parts or skeletons cheap plastic wrap - it doesn't matter what brand  heat gun or high-temperature hairdryer wood stain ( I used oak because that is what I had laying around) spray paint ( red and black) craft paint (red, black, dark brown, white, grey and green)   First, wrap your cheap skulls or bones in a few layers of plastic food wrap. It doesn't matter what brand. Then take your heat gun and melt areas away until you get your desired look. Some hairdryers may not be able to get hot enough to do this. Then take your wood stain and start adding a little colour.  Color choices are completely up to you but i used red, flesh, dark brown, black, white, grey. On the skull, I added some black spray paint in the hallows of the eyes to add a little more dimension.  Hope this inspires you to try a new prop id